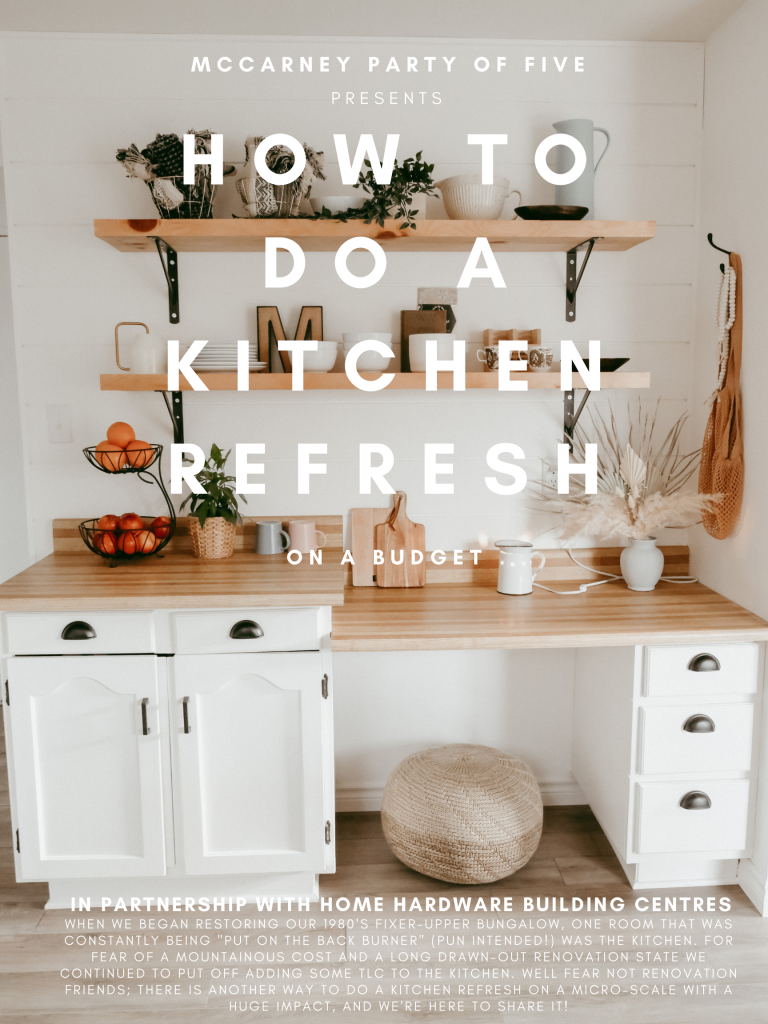
able to achieve our vision! With a new shiplap wall featuring display shelving, cabinet upgrading with fresh Beauti-Tone cabinet paint, and updated hardware,
this kitchen just received some much needed new-life!
When we began restoring our 1980’s fixer-upper bungalow, one room that was constantly being “put on the back burner” (pun intended!) was the kitchen. For fear of a mountainous cost and a long-drawn-out renovation state we continued to put off adding some TLC to the kitchen. Well FEAR NOT renovation friends; there is another way to do a kitchen refresh on a micro-scale with a huge impact, and we’re here to share it!

Let’s Talk Cabinets:
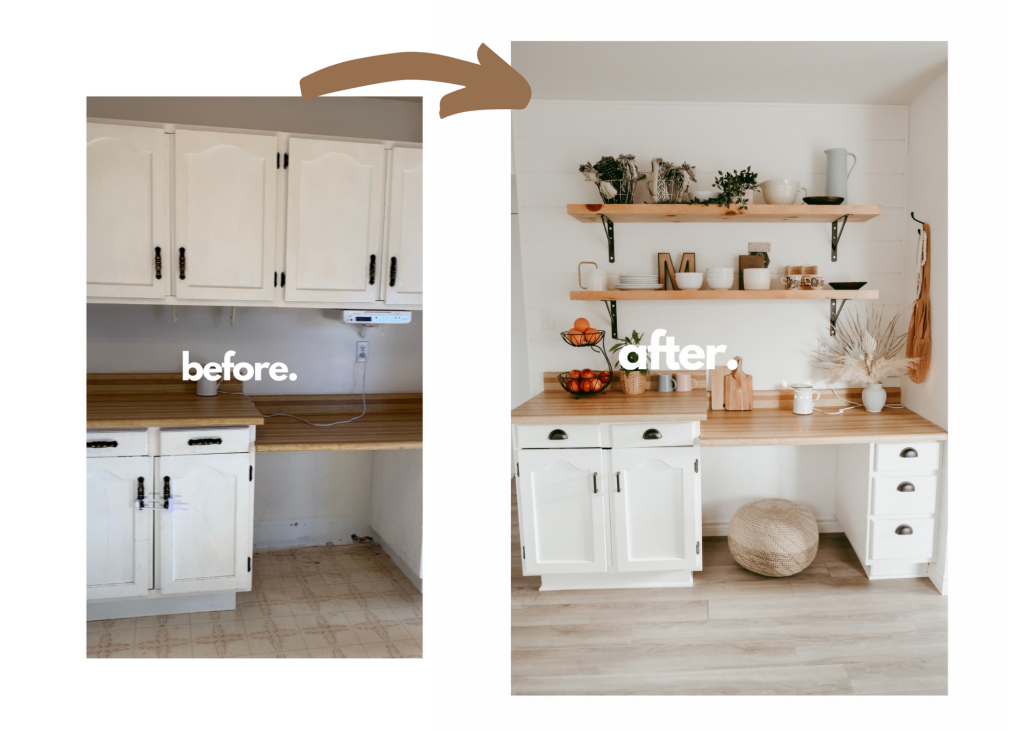
In lieu of ripping out the existing cabinets and replacing them with new ones, we opted to repaint them using our signature colour “Powdered Donuts” in Beauti-Tone Designer Series Cabinet & Furniture paint. Before now, I had always assumed we needed to completely replace the cabinets in this kitchen; I couldn’t wrap my head around the idea of painting them, and then I discovered this cabinet paint and the finish on the cupboards is unreal; they look completely new! (Check out the gallery below for the ‘before’ pictures; you’ll want to paint your old cabinets asap)
You’ll Need:
- Small Foam Rollers and Paint Tray (Tap Here)
- Cabinet Paint (Beauti-Tone Designer Series is our fav) (Tap Here)
- New Cabinet Handles (Check out what we used – Tap Here)
- Drawer Pulls (We went super modern with these, check it out – Tap Here)
- Screwdrivers
- Cut-in brush
- Drop sheets
- Coffee

Here’s How:
- Remove cabinet doors and drawers
- Clean and sand off any residue on pre-existing door faces
- Using your cut-in brush outline any design grooves with your cabinet paint
- Using a foam roller, apply a thin layer of cabinet paint to doors and cabinets
- Repeat steps 3 & 4 after the drying period as needed (12 hours recommended)
- Install your new hardware (handles and drawer pulls)
- Re-install your newly refreshed doors back onto your refreshed cabinets and VOILA – now that’s an easy transformation!
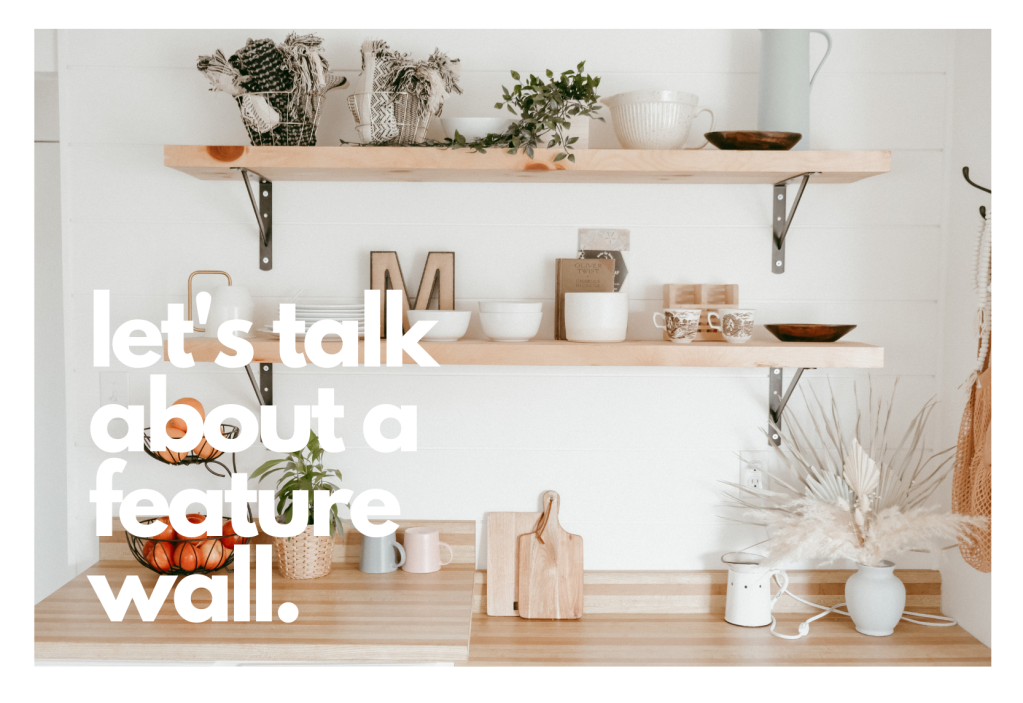
Let’s Talk About A Feature Wall:
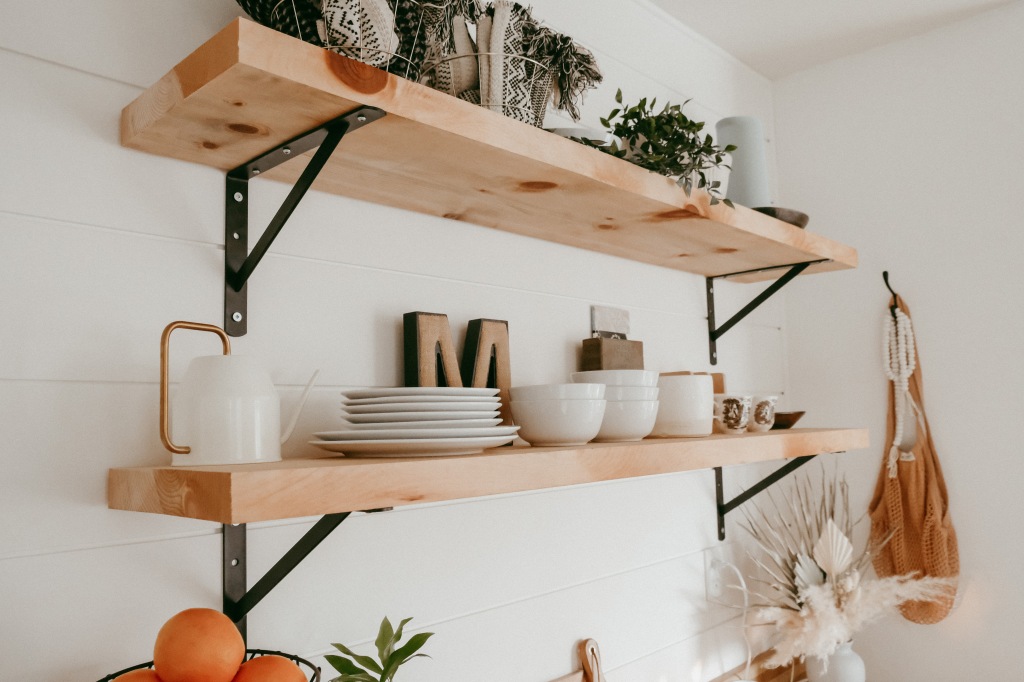
We knew we wanted to add shelving into this space to create an open flow in the kitchen. We knocked out the pre-existing upper cabinets and replaced them with an incredible ship-lap wall (coastal-boho vibes anyone?) The pine shelving and brackets have a very warm, inviting feeling to them that says “Hey, come and enjoy an orange over here”. This wall transformation is by far the biggest impact, and if you haven’t yet replaced old cabinets with open shelving – allow me to just HIGHLY recommend it to you!
You’ll Need:
- 2″ by 12″ by 12′ Pine – cut into two pieces (Tap Here)
- 4 Heavy Duty Brackets – Check out what we used: (Tap Here)
- 7.5″ Shiplap (Tap Here)
- 2″ finishing nails
- Hammer
- Chop saw (mitre-saw)
- Sand-paper
- Level
- 2.5″ Heavy Duty #14 Screws (for your brackets)
- Thompson’s Wood Sealer (or your fav stain) for shelving

Here’s How:
- Remove old cabinets
- Ship-Lap wall (optional) but so beautiful we had to do it! Cut Ship-lap boards into desired wall length, using mitre-saw in outdoor space. Using 2″ finishing nails, install your Shiplap starting from ceiling and working your way down. Shiplap is tongue and groove, and the installation process is much simpler than you might think! If you ever have questions, your local Home Hardware team are pros and can offer you guidance in your projects.
- Finish off your shiplap with a fresh coat of paint (our signature home colour is “Powdered Donuts” by Beauti-Tone
- Shelving: Cut your 12′ pine into two sections for your shelves and sand the rough edges.
- After cleaning off your pine use a Wood Sealer (like my favourite: Thompson’s Water Sealer) or your favourite stain to protect
- Install shelving with your brackets and heavy duty 2.5″ #14 screws into wall studs and Ta-Da!

We are so beyond happy with this transformation of our kitchen and hope you all get a chance to see our Here’s How video on IG! Here’s to all the projects, small or big, and the great feeling you get when you accomplish creating a beautiful space that surrounds you.


Leave a comment